

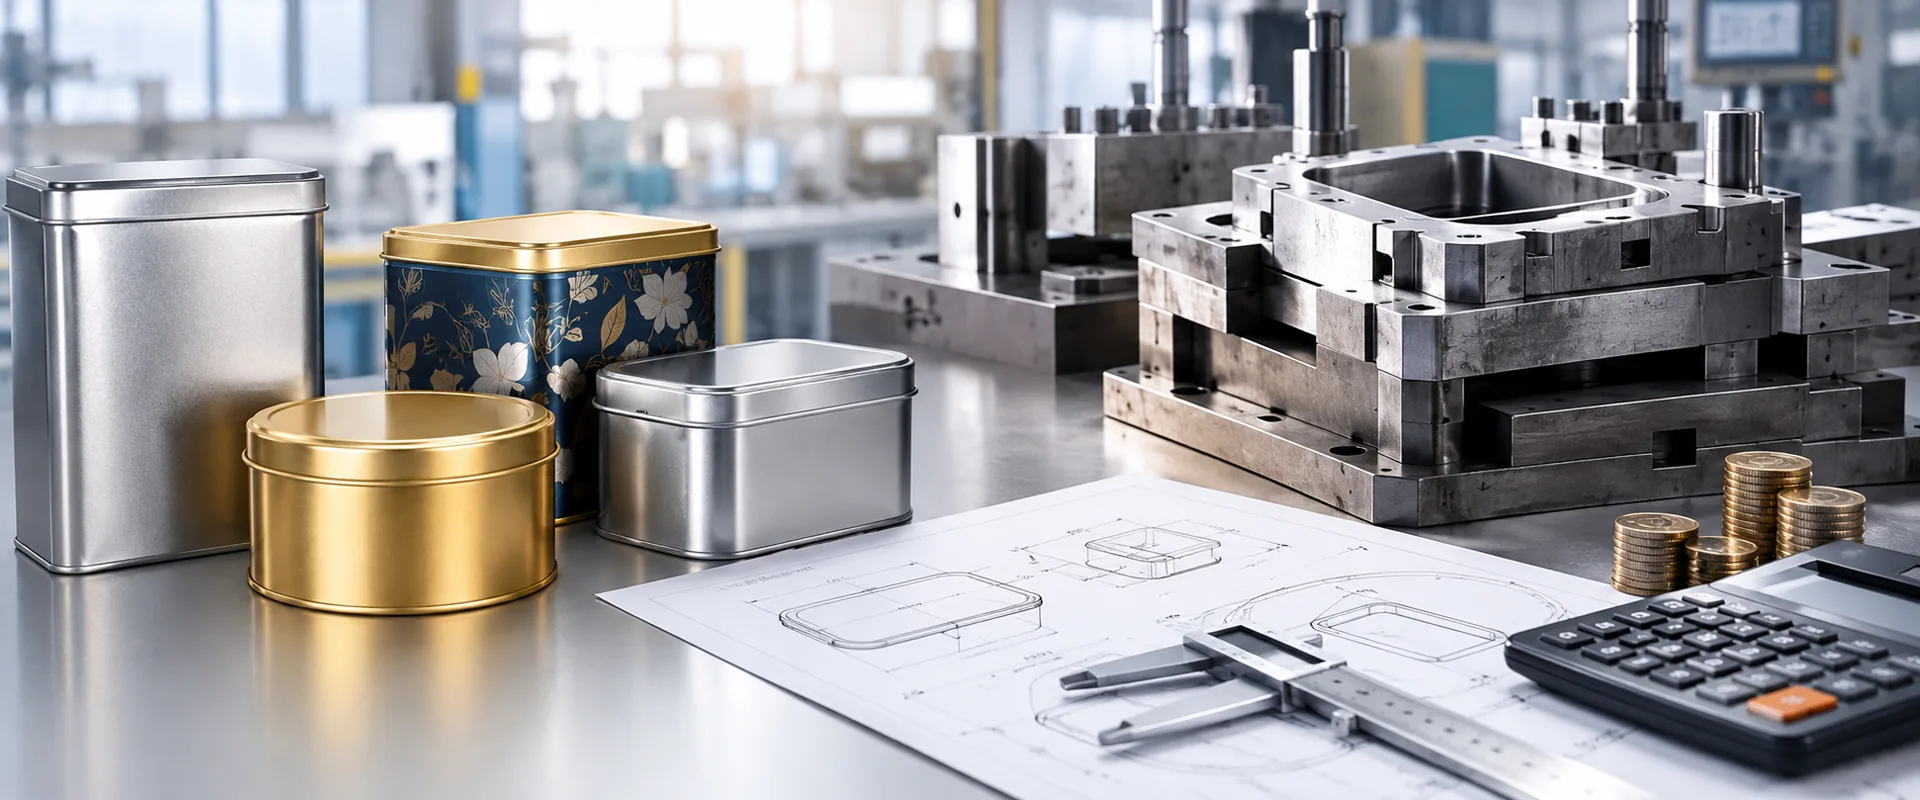

Tin Packaging Tooling Cost is often one of the most confusing parts of a custom tin box quotation. When you see a tooling or die charge on the quote, you may wonder why it costs so much, what the fee actually covers, and whether the price is reasonable for your order.
For custom tin packaging, the tooling cost is not simply the price of making a mold. It reflects the design of the tin box, the forming process, the number of tooling operations, the lid and closure structure, material thickness, required tolerances, and the amount of machining and trial work involved. A simple rectangular tin may need relatively straightforward tooling, while a deep-drawn, embossed, or tightly fitted design can require a much more complicated tooling system.
This is why two custom tin boxes with similar dimensions can have very different tooling costs. As a manufacturer, we usually look at the structure and production process first rather than judging the tooling price simply by the size of the box.
This guide explains what really determines Tin Packaging Tooling Cost, which parts of a custom tin box have the biggest impact on die cost, how tooling is tested and adjusted, and what buyers can do to control unnecessary tooling expenses before production begins.
Table of Contents
What Does a Custom Tin Box Tooling Fee Actually Pay For?
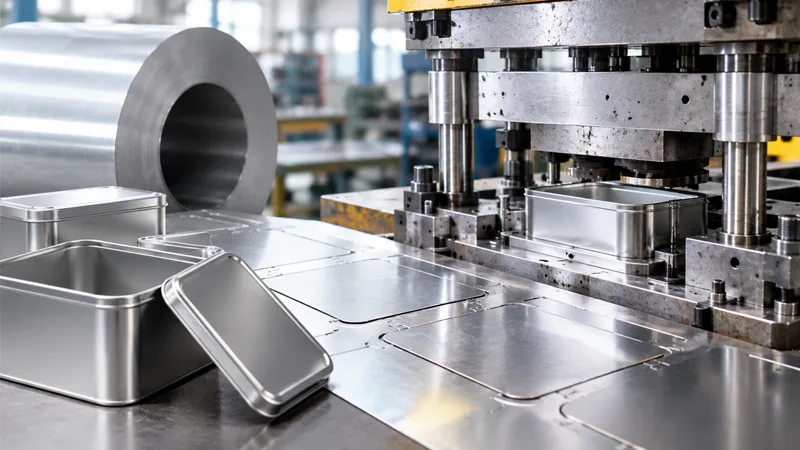
The term “tooling” can sound like it refers to one piece of steel. In practice, a custom tin packaging project can involve several different pieces of production equipment.
The cutting stage may need a die to create the correct blank from the tinplate sheet. Forming operations then use dies and punches to shape the body, lid, corners, flange, or other features. If the design includes curled edges, embossing, or deep-drawn sections, additional tooling may be needed.
There is also work that buyers do not always see in the quotation. Tool components have to be designed, machined, assembled, tested, and sometimes adjusted after the first trial.
This is why two suppliers can quote different tooling prices even when they are working from the same product drawing. Their tooling structure, machining approach, included services, or quotation scope may not be identical.
A low tooling price is not necessarily a better deal if important components or trial adjustments are excluded.
The Shape of the Tin Box Is Usually More Important Than Its Size
One of the easiest mistakes to make is to judge tooling cost from the finished dimensions alone.
Imagine two rectangular tins. Both are approximately 150 mm long and 100 mm wide. The first has straight walls, shallow forming, rounded standard corners, and a simple slip lid. The second has a stepped side wall, deeper forming, an embossed logo, tighter corners, and a friction-fit lid.
From a product catalogue, they may look like two boxes of roughly the same size.
From a toolmaker’s point of view, they are very different projects.
The second design requires more control over how the tinplate moves during forming. The embossed area needs its own forming geometry. The corners may require more careful machining. The lid and body also have to work together properly, which means certain dimensions become more critical.
This is why tooling cost follows manufacturing complexity more closely than finished product size.
A larger box is not automatically a more expensive box to tool.
How the Manufacturing Process Changes the Die Cost
The next question is what actually happens to the tinplate during production.
A simple tin component might go through cutting and a relatively straightforward forming operation. A more complicated part can require pre-forming, drawing, final forming, trimming, curling, or embossing.
Every additional operation adds work to the tooling design.
But it would be misleading to say that every extra operation simply adds a fixed amount to the tooling price. One forming operation might use a relatively simple tool. Another may require complicated three-dimensional machining and much more adjustment during tryout.
The important point is that the tooling has to match the manufacturing sequence.
For example, if a container needs to be drawn into a relatively deep shape, the tool has to control material flow rather than simply force the metal into a cavity. Drawing depth, wall geometry, corner radius, material thickness, and the number of forming stages can all affect the final tooling arrangement.
This is one reason a proper DFM review is so important. A shape that looks perfectly reasonable in a 3D rendering may require a much more complicated forming sequence than the designer originally expected.
Why the Lid Can Make a Big Difference
The lid is another area where tooling costs can change quickly.
A basic slip lid may be relatively straightforward. A friction-fit lid is more demanding because the relationship between the lid and body has to be controlled carefully. If the fit is too loose, the packaging does not feel secure. If it is too tight, the customer may struggle to open it.
The tooling therefore has to control the dimensions of both mating components.
This is a practical issue we often see during DFM reviews. A change that looks minor on the drawing—perhaps a small change to the body height or lid flange—can affect the way the two parts fit together.
And if that change is made after the tooling has already been machined, it may no longer be a simple drawing revision. The tool itself may need to be modified.
That is why closure design should be settled before tooling production begins.
Embossing Looks Simple on the Drawing. It Isn’t Always Simple to Form.
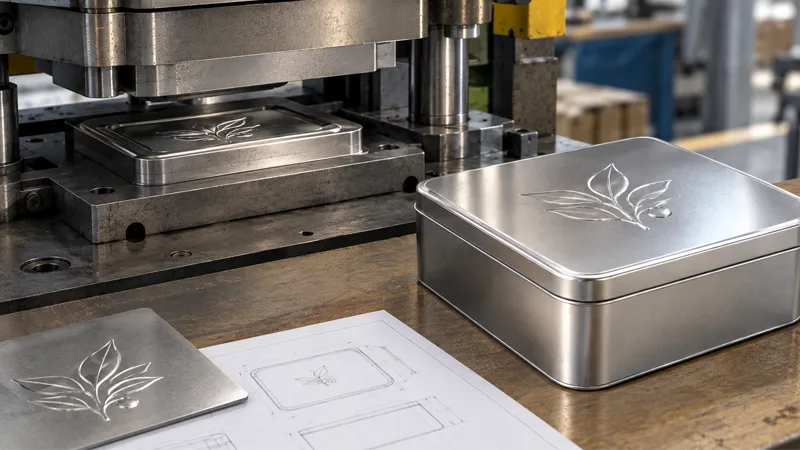
Embossing is popular in tin packaging because it gives a logo or decorative element a physical, three-dimensional appearance.
But an embossed feature is not simply printed onto the surface. The metal has to be physically formed by the tooling.
A shallow logo positioned in the middle of a relatively flat panel may be straightforward. A deeper embossed design located close to a corner, flange, or deep-drawn section is another matter.
The surrounding metal also has to move during forming.
This is where the position and depth of the embossing become important. The toolmaker has to consider the embossed feature together with the rest of the product geometry rather than treating it as an isolated decoration.
For buyers, the practical lesson is simple: if embossing is important to the design, discuss its depth and location during DFM rather than adding it after the basic tooling concept has already been finalized.
Corners, Drawing Depth, and Material Thickness Work Together
Corners are another detail that can have a bigger effect on tooling than expected.
A sharp corner may look attractive in a CAD drawing, but sheet metal does not behave like a solid block of plastic. During forming, the material has to stretch, move, and bend around the tooling geometry.
A larger radius can change the way deformation is distributed. Multiple corner radii or stepped transitions can make the tooling more complicated.
Material thickness matters here as well.
Changing tinplate thickness can influence forming force, clearance, springback, and the final dimensions of the formed part. If a tool has been designed around one material thickness and the material specification is later changed, the tooling may need to be reviewed.
This does not mean that thicker tinplate automatically means more expensive tooling. The important factor is the interaction between the material, product geometry, forming method, and tooling clearance.
Tool Size Is Not a Reliable Way to Judge Tooling Price
Another common assumption is that a physically large die must be expensive.
Not necessarily.
A large tool with relatively simple surfaces may be easier to machine than a smaller tool containing complicated three-dimensional features.
Tool manufacturing can involve milling, grinding, wire cutting, EDM, drilling, polishing, and other machining processes. The more complicated the surfaces and functional dimensions, the more machining and inspection may be required.
This is why looking only at the physical size of a die can give the wrong impression.
A better way to evaluate a quotation is to ask what the tool actually needs to accomplish and how complicated it is to manufacture.
Tool Tolerance Should Be Based on Function
Tolerances are another area where unnecessary requirements can quietly increase tooling work.
Not every dimension on a tin box needs the same level of precision.
The dimensions that control the lid-to-body relationship, for example, are usually more important than a non-functional exterior dimension. If a buyer specifies extremely tight tolerances across the entire drawing without a functional reason, the additional machining and inspection may increase the cost without improving the finished packaging.
A better approach is to identify the dimensions that actually affect closure, assembly, or product performance.
In other words, tight tolerance should have a purpose.
This is particularly important for custom tin boxes because the lid fit is often one of the most noticeable aspects of the finished product.
The First Tool Trial Is Where Reality Meets the Drawing
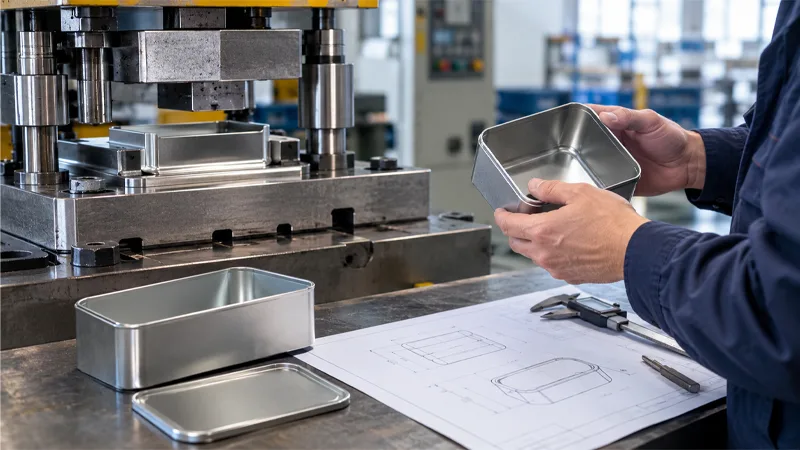
Even after the tooling has been machined and assembled, the job may not be completely finished.
The first tryout is where the tool meets the actual tinplate and production machine.
Sometimes everything works as expected.
Sometimes it doesn’t.
The formed part may show a little springback. A corner may not hold exactly the expected shape. A wall dimension may be slightly outside the target. Or the lid may fit differently from what the drawing suggested.
These situations do not automatically mean the tooling was badly designed.
Sheet metal forming is affected by material condition, machine settings, forming sequence, and actual production conditions. A toolmaker may need to make a localized adjustment—perhaps a little grinding, polishing, or machining—and then run another trial.
This tryout and adjustment stage is one reason buyers should always ask whether trial production and initial tooling adjustment are included in the quotation.
A quotation that looks cheaper on paper can become more expensive if every adjustment is treated as an additional charge.
Why Design Changes After Tooling Can Become Expensive
Changing artwork and changing physical geometry are two very different things.
Moving a printed logo may have no effect on the forming tool.
Changing the body height is different.
Changing the lid dimensions, corner radius, embossing depth, or closure structure can affect the actual tooling surfaces. Depending on the change, the supplier may be able to modify one component, modify several components, or recommend new tooling.
The earlier the change is made, the easier it usually is to deal with.
This is why experienced manufacturers prefer to complete DFM before final tooling production. It is much cheaper to solve a difficult feature on a drawing than to discover the same problem after a steel tool has already been machined.
Does Order Quantity Affect Tin Packaging Tooling Cost?
Tooling cost and production cost should be treated as two different things.
The tooling is an upfront expense associated with developing the production equipment. The production cost covers the actual containers being manufactured.
Suppose a custom project has a $1,000 tooling charge. If you produce 1,000 pieces, the tooling represents $1.00 per piece. At 10,000 pieces, the same tooling represents $0.10 per piece.
The tooling itself has not become cheaper. The fixed cost is simply spread across more products.
This is particularly important when evaluating small production runs. A project with a low order quantity can make the tooling fee look disproportionately large when viewed on a per-piece basis.
For larger production programs, however, another issue appears: tool wear.
A tool running continuously for high-volume production will eventually require inspection, maintenance, adjustment, or replacement of worn components. So production quantity affects not only the initial tooling allocation but also the long-term management of the tooling.
Existing Tooling May Be an Option—but Check It Carefully
Sometimes a supplier already has tooling that looks close to what you need.
This can be useful.
If the existing tool has compatible dimensions, forming geometry, material requirements, and closure structure, part of the tooling system may potentially be reused or modified.
But “looks similar” is not enough.
A few millimeters of difference in body height, lid dimensions, or corner geometry can make an existing tool unsuitable. The manufacturer should check the actual tooling and product requirements before promising that an existing mold can be reused.
In some cases, modifying an existing tool is economical.
In others, starting with new tooling is the safer choice.
The cheapest tooling option is not necessarily the cheapest manufacturing solution if it creates dimensional or assembly problems later.
How to Read a Tin Packaging Tooling Quotation
When you receive a tooling quotation, don’t compare the final numbers first.
Compare the scope.
A useful quotation should tell you what tooling is being made, which product components each tool produces, and whether trial production and initial adjustment are included.
For example, one supplier may quote a low price for the basic forming dies but charge separately for embossing, trial production, or later adjustments. Another supplier may include those items from the beginning.
That means the two prices are not directly comparable.
The question to ask is:
“What exactly is included in this tooling fee?”
Then ask what happens if the first trial shows a dimensional or closure problem.
This single question can reveal a lot about how transparent the supplier’s tooling process is.
A Simple Way to Compare Tooling Complexity
For a quick first assessment, the following comparison is more useful than simply looking at box dimensions:
| Tin box design | Typical tooling complexity | Main reason |
|---|---|---|
| Simple rectangular box | Lower | Straightforward forming and simple closure |
| Rounded or stepped box | Medium | More controlled forming and corner geometry |
| Deep-drawn box | Medium–High | Greater control of material flow |
| Embossed box | Medium–High | Additional forming surfaces |
| Fitted-lid box | Medium–High | Closer control of lid/body relationship |
| Deep-drawn + embossed + complex closure | High | Several demanding operations combined |
These are not fixed price categories. They are simply a way to understand why two custom tin boxes can receive very different tooling quotations.
How to Reduce Custom Tin Box Tooling Cost
The easiest way to reduce tooling cost is usually not to negotiate harder after receiving the quotation.
It is to make the product easier to manufacture before the tooling is built.
If a decorative feature does not add meaningful value, consider whether it really needs to be formed. If a tolerance has no effect on the closure or function of the package, it may not need to be extremely tight. If the lid structure can be simplified without changing the customer’s experience, that may also reduce tooling complexity.
Most importantly, involve the manufacturer during the DFM stage.
A good tooling discussion should happen while the design is still flexible.
Once the tool has been machined, every design change becomes a physical manufacturing problem.
What Buyers Should Really Look for in a Tooling Price
There is no universal price for a custom tin box mold.
The final cost comes from the amount of engineering and manufacturing work required to turn the product drawing into a reliable production process.
A simple box with shallow forming and a basic lid may require relatively straightforward tooling. A smaller premium tin with deep drawing, embossing, complex corners, and a fitted closure can require much more work.
So when you receive a tooling quotation, don’t focus only on whether the number looks high or low.
Look at what is behind the number.
Ask what dies are included. Understand how many forming operations are required. Check whether embossing and closure tooling are included. Find out whether trial production and initial adjustments are covered. Most importantly, make sure the product drawing is finalized before tooling production begins.
The goal is not to find the cheapest mold.
The goal is to develop the simplest tooling system that can reliably produce the tin box you actually need.
That is usually where a good tooling decision starts.
FAQ
How much does a custom tin box mold cost?
There is no single standard price for a custom tin box mold. Tooling cost varies according to product geometry, forming operations, machining requirements, closure design, embossing, material specifications, and the tooling components required for production.
An accurate quotation normally requires a product drawing and material specification.
Why is custom tin box tooling so expensive?
A custom tooling fee may cover much more than one die. Cutting, forming, drawing, curling, embossing, assembly, trial production, and adjustment may all be part of the tooling project.
The more complicated the manufacturing process, the more tooling work may be required.
Does a larger tin box always require more expensive tooling?
No. The size of the finished box is only one factor.
A small tin with deep drawing, complex corners, embossing, or a fitted lid can require more complicated tooling than a larger box with simple geometry.
Does changing the tin box design require new tooling?
Not always.
Changes that only affect artwork may not require forming-tool changes. Physical changes to the body, lid, corner radius, embossing depth, or closure structure can require tooling modification or, in some cases, new tooling.
Does MOQ reduce the tooling fee?
Not necessarily.
The initial tooling fee is generally a separate cost. A larger order quantity reduces the tooling cost allocated to each individual piece because the same fixed tooling expense is spread across more units.


