
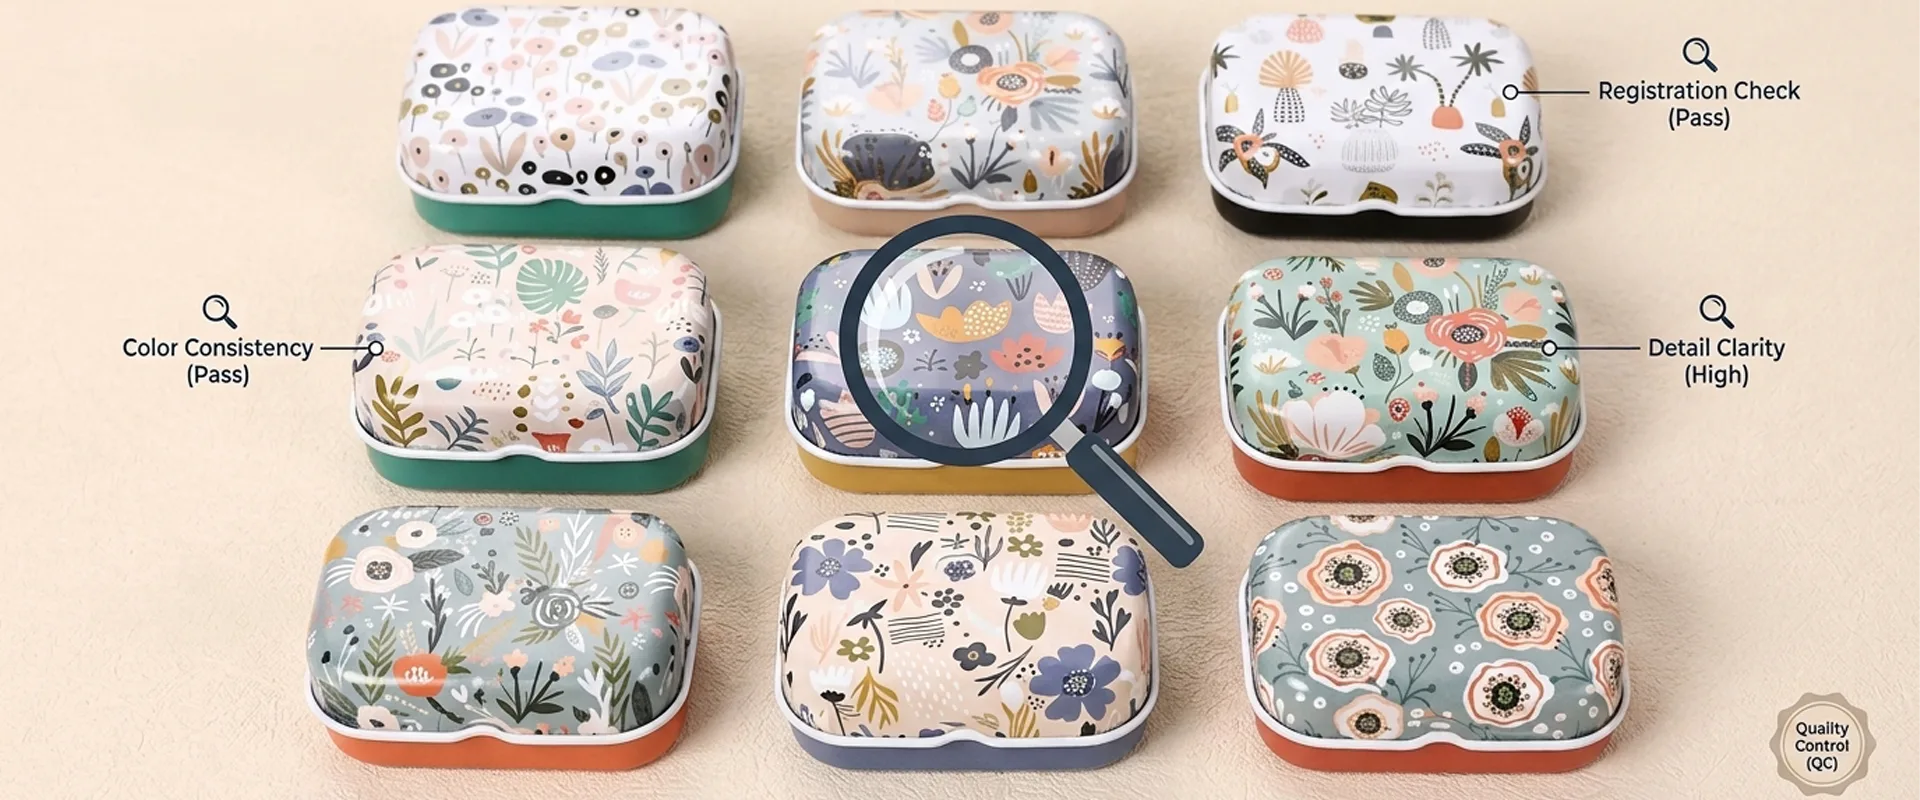
Tin packaging print quality control affects how custom metal tin boxes look after printing, forming, assembly, and delivery. A design may match the approved artwork on a flat tinplate sheet but show color differences, misaligned graphics, or coating damage once the metal has been formed into a finished container.
For buyers sourcing printed tinplate packaging, these problems can lead to rejected batches, delayed launches, and inconsistent brand presentation. Choosing a tin box manufacturer that understands both printing and metal forming helps reduce these risks before mass production begins.
Print quality depends on more than ink application. Tinplate surface condition, color references, coating properties, artwork positioning, die geometry, and forming pressure all influence the finished result. Quality checks must therefore cover the stages where defects develop, not just the printed sheet.
A practical inspection plan establishes clear acceptance criteria before production, checks critical features during manufacturing, and verifies the appearance of finished tins against an approved reference.
Table of Contents
Color Matching for Custom Metal Tin Boxes

Color matching is one of the first issues buyers encounter when approving custom metal tin boxes. A production batch may look different from the sample even when the same artwork file and color reference are used.
The difference can come from the printing system, tinplate surface, coating, or inspection conditions. Buyers and manufacturers need a consistent method for comparing samples and production batches.
Why Printed Tinplate Packaging Shows Color Differences
Tinplate does not behave like ordinary white paper. Its metallic surface reflects light and can influence the appearance of printed colors. The result depends on the ink system, the opacity of the printed layer, the use of an opacifying white base, and the final varnish.
For example, a color printed directly onto a metallic surface may retain a reflective effect. The same color printed over an opaque white base generally appears more solid. The correct choice depends on the approved design rather than a universal preference.
Lighting also affects color perception. A printed red may appear different under daylight, cool white LEDs, and warm indoor lighting. Gloss level, surface texture, and viewing angle can make the difference more noticeable.
A tin box manufacturer should establish the color reference and inspection conditions before the printing run. Otherwise, the buyer and factory may judge the same batch differently.
Establishing a Reliable Color Reference
A Pantone reference provides a useful starting point, but it does not guarantee an exact match on every substrate. The printing process, base layer, varnish, and production conditions also affect the finished color.
For repeat orders, the approved reference should identify the artwork version, required finish, and physical sample used for comparison. If color measurement is required, the specification should also define the measurement method and acceptable color difference.
Instrumental measurement can support visual inspection, but the results are meaningful only when the reference, instrument settings, measurement conditions, and acceptance limits are agreed in advance.
A signed physical sample is useful because it represents the combined appearance of the printing and finishing system. However, written criteria are still necessary when close color consistency is required across different production batches.
Print Registration and Artwork Positioning
Print registration and artwork positioning are related, but they measure different things. Registration describes the alignment of printed colors with one another. Artwork positioning describes where the complete design sits on the tinplate and finished container.
Both can affect the appearance of printed tinplate packaging, particularly when the design includes small text, narrow borders, logos, or graphics near corners.
Controlling Registration During Printing
In multicolor printing, each color layer must align with the others. Poor registration can produce colored edges around text, blurred outlines, or doubled details.
These defects are often more visible in high-contrast designs. A small alignment error around a company logo may be more noticeable than the same error in a large background area.
Registration should be checked against identifiable features in the artwork. Fine text, logo edges, and narrow borders can provide useful inspection points. The acceptable deviation should reflect the design, printing process, and customer requirements rather than an assumed universal tolerance.
Positioning Artwork Around Formed Edges
Printing takes place on flat tinplate, but the finished package may require blanking, bending, drawing, and curling. Artwork positioning must account for these operations before the production layout is approved.
A border placed too close to a cutting line may appear uneven after blanking. Text near a corner may shift visually when the metal is formed. A logo can also appear off-center if its position was established without considering the final body dimensions.
The artwork should be reviewed against both the production blank and the finished part. Reference points may include the body centerline, lid edge, panel boundaries, corner radii, and embossing locations.
For rectangular tins, corner geometry affects how graphics appear across the front and side panels. For round tins, the relationship between the printed design and finished diameter must be considered, especially when a logo or border needs to remain centered.
Aligning Print with Embossed Features
Embossing and debossing create additional positioning requirements. A printed logo may need to align with a raised feature or recessed panel, and the artwork must account for the final geometry.
If the printing layout and tooling design are developed independently, the image may not sit correctly within the formed feature. The flat sheet can pass inspection while the finished tin still looks misaligned.
The manufacturer should review these areas during artwork preparation and tooling design. A representative formed sample should be checked before mass production, particularly when the design contains prominent logos, borders, or detailed graphics near shaped surfaces.
Coating Consistency and Surface Damage
A tin may pass color and registration checks but still fail inspection because of uneven gloss, scratches, coating cracks, or exposed metal. These issues need to be evaluated alongside printing quality because the coating must withstand subsequent forming and handling operations.
Maintaining Consistent Coating Appearance
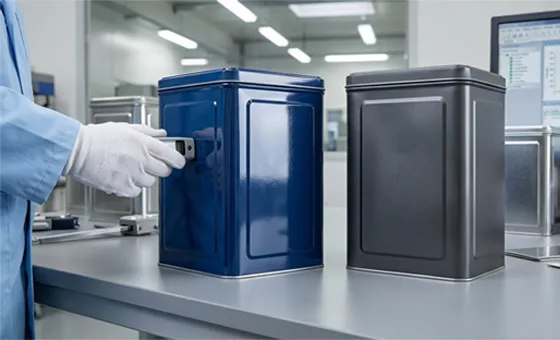
Differences in coating application, curing, or surface preparation can create visible variations across a finished tin. Gloss coatings may show uneven reflections, while matte finishes can reveal differences in surface texture.
The inspection process should distinguish between actual coating defects and normal visual differences caused by surface geometry. Corners, recessed panels, and embossed features reflect light differently from flat surfaces, which can affect their appearance.
Where gloss consistency is a defined requirement, the buyer and manufacturer should agree on the measurement method and inspection locations. Measurements taken from a flat panel should not automatically be applied to every formed surface.
Preventing Coating Cracks During Forming
Coating cracks can appear when tinplate undergoes deformation during forming. The risk depends on coating properties, material condition, forming geometry, and the severity of the operation.
A deep-drawn body places different demands on the coating than a shallow folded panel. Tight radii and heavily deformed areas require particular attention because the coating may not withstand the strain imposed during forming.
When cracks appear, adjusting the printing process alone may not solve the problem. The investigation should include the coating specification, curing conditions, tinplate condition, die geometry, and forming parameters.
Any corrective change should be checked against both surface quality and dimensional requirements. Reducing coating damage is not a complete solution if the revised process causes the finished tin to fall outside its dimensional tolerances.
Reducing Scratches and Scuff Marks
Scratches can develop during stacking, blanking, forming, assembly, packing, or transportation. Repeated marks in the same location may indicate contact between sheets or components rather than a defect originating in printing.
For example, scuffs around lid edges may be related to assembly or handling. Marks that appear only after packing may indicate insufficient separation between finished tins.
The manufacturer should record the defect location, appearance, affected quantity, and production stage. Reviewing these details helps identify the source of recurring damage.
Protective interleaving, stacking arrangements, contact surfaces, and handling methods should be examined when repeated marks occur. The correction should address the source rather than relying entirely on final inspection and sorting.
Defining Print Acceptance Criteria Before Mass Production
Many disputes over printed tin packaging begin because the buyer and manufacturer have not agreed on how the finished product will be inspected.
Terms such as “correct color,” “consistent gloss,” and “no visible defects” can be interpreted differently during production. Written acceptance criteria provide a common reference and reduce subjective decisions.
Separate Critical Appearance Requirements
Not every surface has the same inspection priority. A color mismatch in a prominent brand logo may be unacceptable, while a minor mark on a concealed bottom panel may be evaluated differently.
The specification should identify the critical visual areas and describe which defects are unacceptable. It should also define any permitted deviations and the procedure for obtaining customer approval when a batch does not meet the original criteria.
For most custom metal tin boxes, the specification should cover the approved color reference, artwork positioning, surface finish, coating condition, inspection environment, and batch acceptance method.
These requirements should reflect the actual packaging application. A decorative gift tin with a large printed panel may require different visual criteria from a plain industrial container.
Using Consistent Inspection Conditions
Visual inspection is necessary because some appearance defects cannot be represented by a single measurement. However, different lighting conditions and viewing angles can lead to inconsistent judgments.
The inspection procedure should define the lighting, viewing distance, viewing angle, and surfaces to be checked. It should also specify whether inspection applies to flat sheets, formed components, or fully assembled tins.
Color measurement can supplement visual comparison when close color matching is required. Dimensional or image-based measurement may help evaluate registration and artwork position. Coating performance tests may be needed when adhesion or forming resistance is part of the specification.
Each method should address a specific failure mode. A color reading cannot confirm lid fit, and a dimensional measurement cannot establish whether a metallic finish matches the approved sample.
Setting Sampling and Batch Acceptance Rules
Inspection frequency should reflect production volume, process stability, defect risk, and customer requirements. Checking only one finished tin may not reveal variation across a long production run.
The inspection plan should identify when samples are taken, which features are checked, and what happens when a deviation is found. Color and registration may be checked during printing, while coating damage and artwork positioning must also be evaluated after forming.
If a batch fails inspection, the manufacturer should determine whether the problem is isolated or systematic. Depending on the defect, the response may involve additional inspection, segregation of affected products, process correction, or customer review.
Sampling methods and acceptance limits should be agreed before production begins, not selected retrospectively to justify a nonconforming batch.
Managing Print Quality Throughout Production
Final inspection can identify defects, but it cannot prevent every problem from occurring. A stronger approach checks the characteristics most likely to change at each manufacturing stage.
Material and Pre-Production Checks

Before printing starts, the manufacturer should confirm that the tinplate and coating specifications match the approved requirements. Relevant checks may include material identification, thickness, surface condition, and the suitability of the coating for the intended forming operations.
The artwork and production layout also need revision control. A previous order may contain outdated dimensions, an earlier logo, or an obsolete printing file. These errors should be resolved before production is released.
The approved sample and its revision details should remain traceable to the production order. This is especially important when repeat orders involve updated artwork or changes to the tin’s dimensions.
Inspection During Printing
During the printing run, the manufacturer should monitor color appearance, registration, print coverage, contamination, and coating application as required by the specification.
The purpose is to identify a developing deviation while corrective action is still possible. Waiting until all sheets have been printed can increase material waste and delay subsequent forming operations.
When a deviation occurs, the affected material should be identified and evaluated. The manufacturer should establish whether the problem is limited to a section of the run or also affects previously printed sheets.
Any adjustment should be verified against the approved reference before normal production resumes.
Inspection After Forming and Assembly
A printed sheet that passes inspection may still develop defects during later operations. Forming can reveal coating cracks, while cutting and assembly can expose artwork-positioning errors or introduce new surface damage.
Post-forming inspection should focus on areas affected by deformation, including corners, drawn walls, embossed features, curled edges, and seams. The finished appearance should be checked against the intended product geometry.
Assembly inspection is also necessary when the relationship between the lid and body affects the visible design. A correctly printed body may still look misaligned if the artwork does not correspond to the final position of the lid or other components.
Representative production parts should be used for these checks rather than relying exclusively on specially prepared samples.
Maintaining Print Consistency Across Repeat Orders
Repeat orders require more than reusing the same artwork file. The objective is to reproduce the approved finished appearance while controlling changes in materials, equipment settings, and production conditions.
Retaining Approved Samples and Records
The manufacturer should retain the approved artwork, relevant production specifications, and an identified physical reference sample where required.
Color measurements, inspection results, and records of approved changes provide additional evidence when a later batch is questioned. These records help distinguish a genuine production deviation from a difference caused by inconsistent inspection conditions.
They also support investigations when a buyer reports that a new shipment looks different from packaging received several months earlier.
Reviewing Changes to Materials and Processes
Changes to tinplate suppliers, coating systems, printing conditions, curing settings, tooling, or forming parameters may affect the finished appearance. Changes that could influence critical visual characteristics should be reviewed before implementation.
The manufacturer should identify which requirements may be affected and determine whether a new sample, additional testing, or customer approval is necessary.
Artwork changes also require control. Without clear revision records, the production team may use an outdated layout or combine files from different development stages.
Investigating Differences in Finished Products
When a repeat order does not match the approved reference, both samples should be compared under the same inspection conditions.
The investigation should follow the manufacturing process. A color difference may originate during printing or coating, while a positioning error may result from blanking or forming. A scratch may be introduced during handling rather than during printing.
If the cause remains unclear, a controlled trial may be necessary. Where practical, the trial should change one relevant variable at a time and record the effect on the finished tin.
This approach helps identify the actual cause and reduces the risk of introducing a new defect while correcting the original one.
What Buyers Should Confirm When Selecting a Tin Box Manufacturer
Buyers can reduce print-related disputes by providing complete requirements before mass production. Artwork alone rarely defines all the conditions needed to reproduce printed tinplate packaging consistently.
Before approving an order, buyers should confirm the color references, required surface finish, logo position, critical visual areas, and acceptance criteria. Any physical reference sample should have a clear approval status and revision record.
The buyer should also clarify whether inspection covers printed sheets, formed components, or fully assembled tins. These stages reveal different defects, so the inspection scope should reflect the final product requirements.
For projects involving embossing, debossing, deep drawing, or complex corner geometry, a formed sample provides more useful evidence than a flat print proof alone. It shows how the artwork and coating behave after the metal has undergone the intended manufacturing operations.
For repeat orders, both parties should agree on how approved samples will be retained and used. If color measurement is required, the measurement method and acceptance limits should be documented.
Finally, the specification should define how nonconforming products are handled. Traceable records, clear escalation procedures, and agreed batch acceptance rules make it easier to resolve quality issues without relying entirely on subjective judgment.
Conclusion
Tin packaging print quality control must cover the full manufacturing sequence, from material preparation and printing to forming, assembly, and final inspection. Color matching, registration, coating consistency, and surface condition are connected, but each requires suitable inspection methods and acceptance criteria.
For buyers sourcing custom metal tin boxes, the goal is to define the required appearance before production and verify it at the stages where defects can develop. For manufacturers, the goal is to detect deviations early, identify their causes, and maintain consistent results across production batches.
An approved reference sample, controlled artwork revisions, consistent inspection conditions, and production-stage checks provide a practical basis for repeatable printed tinplate packaging. When a defect occurs, the investigation should follow the process that produced it rather than assuming every appearance problem originated during printing.
Frequently Asked Questions
Why does the color of a custom tin box differ from the approved sample?
The difference may come from the tinplate surface, ink system, white base layer, varnish, or lighting conditions. Compare both samples under the same conditions and use agreed color measurements when required.
What causes print registration problems on tin packaging?
Registration errors can occur during printing, while artwork-positioning errors may appear during blanking or forming. Check both color alignment and the position of the complete design on the finished tin.
Why does the coating crack after tinplate forming?
Cracking may result from excessive deformation, tight forming radii, unsuitable coating properties, or process conditions. The coating specification and forming operation should be evaluated together.
How can buyers maintain print consistency across repeat orders?
Retain an approved sample, control artwork revisions, and use consistent inspection conditions. Review material or process changes that could affect the finished appearance before production.
Should tin packaging be inspected before or after forming?
Both stages may be necessary. Pre-forming checks identify printing defects early, while post-forming inspection reveals coating cracks, surface damage, and artwork-positioning problems that become visible during manufacturing.